How to Get Beach-Ready Jelly Nails


How to Get Beach-Ready Jelly Nails
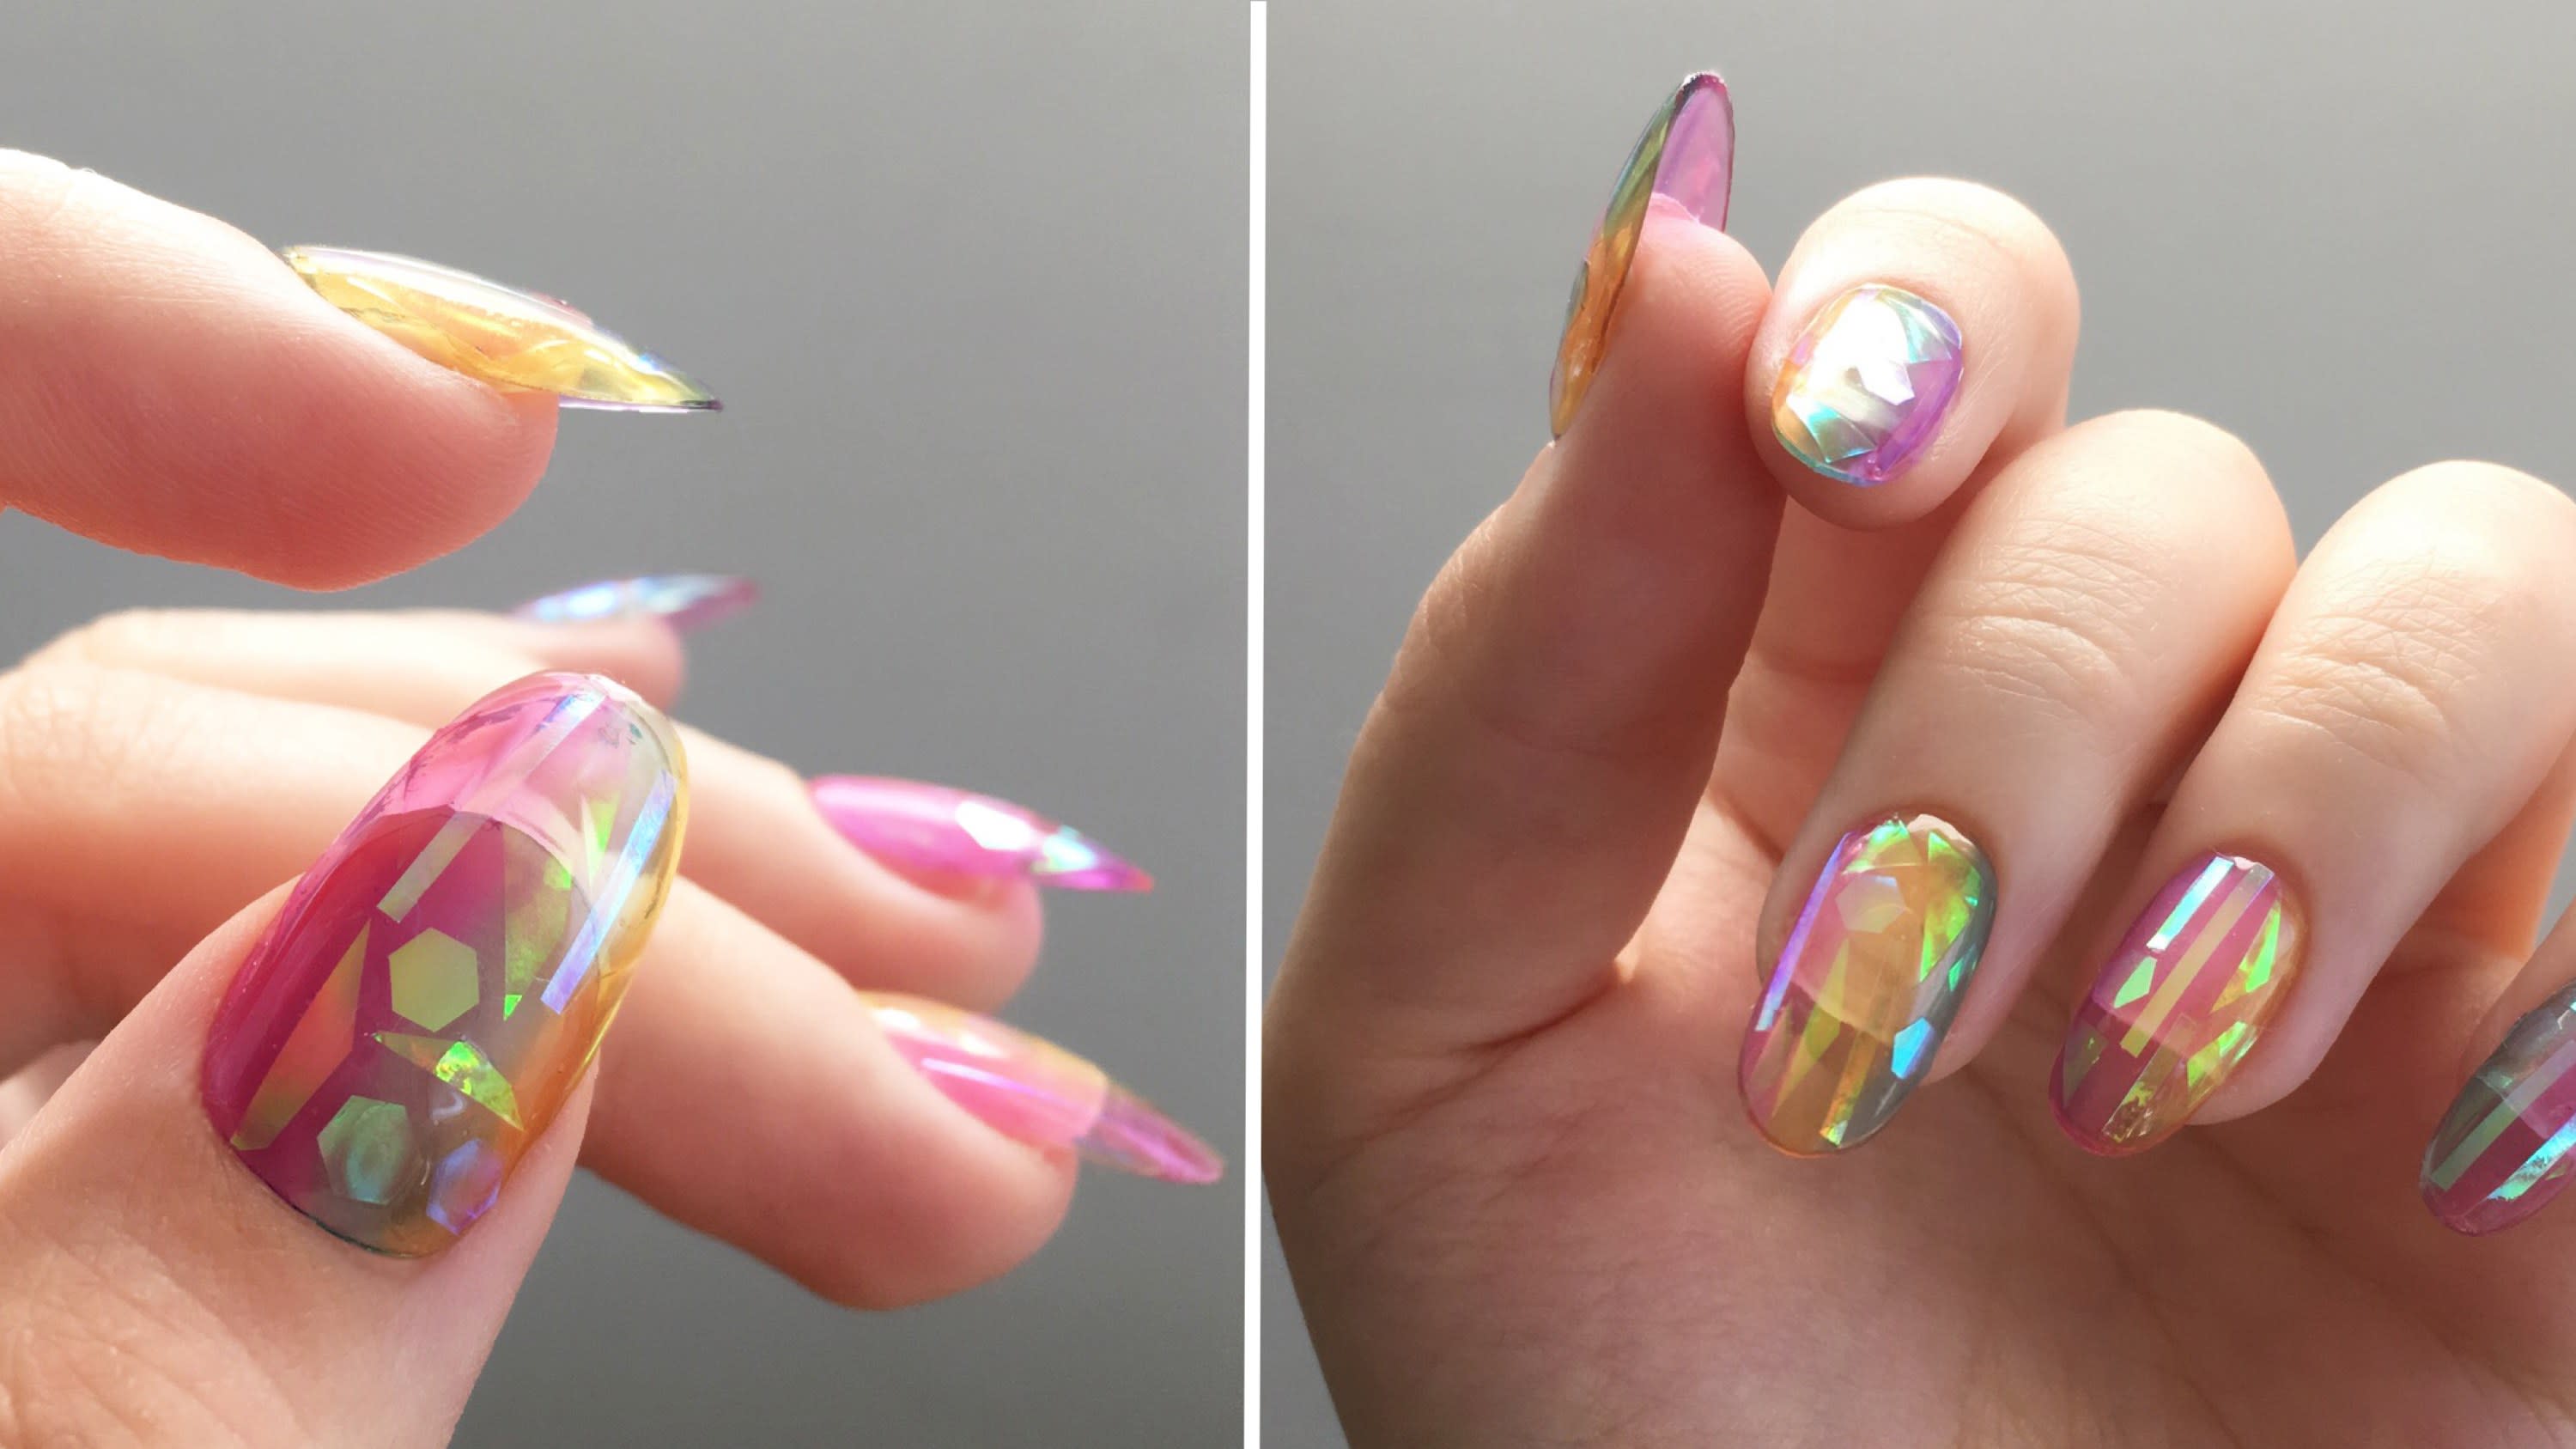
Jelly nails are a type of nail art that is characterized by their translucent, glossy finish. They are a popular choice for summer, as they are both stylish and durable. Jelly nails can be customized with a variety of colors and designs, so you can find the perfect look for your beach vacation.

Here are the steps on how to get beach-ready jelly nails:
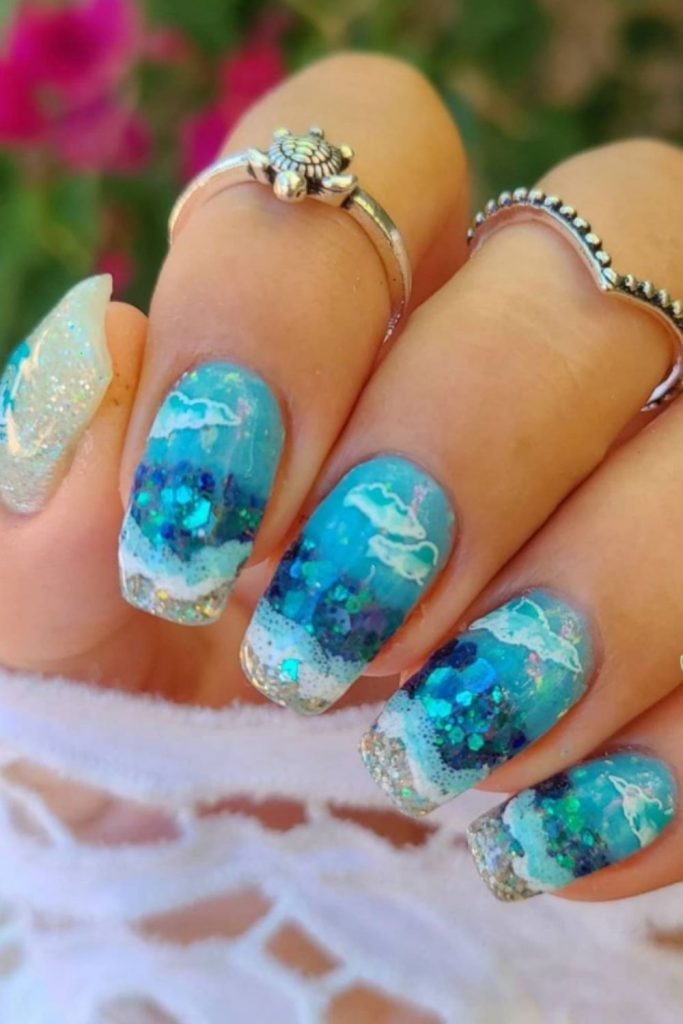
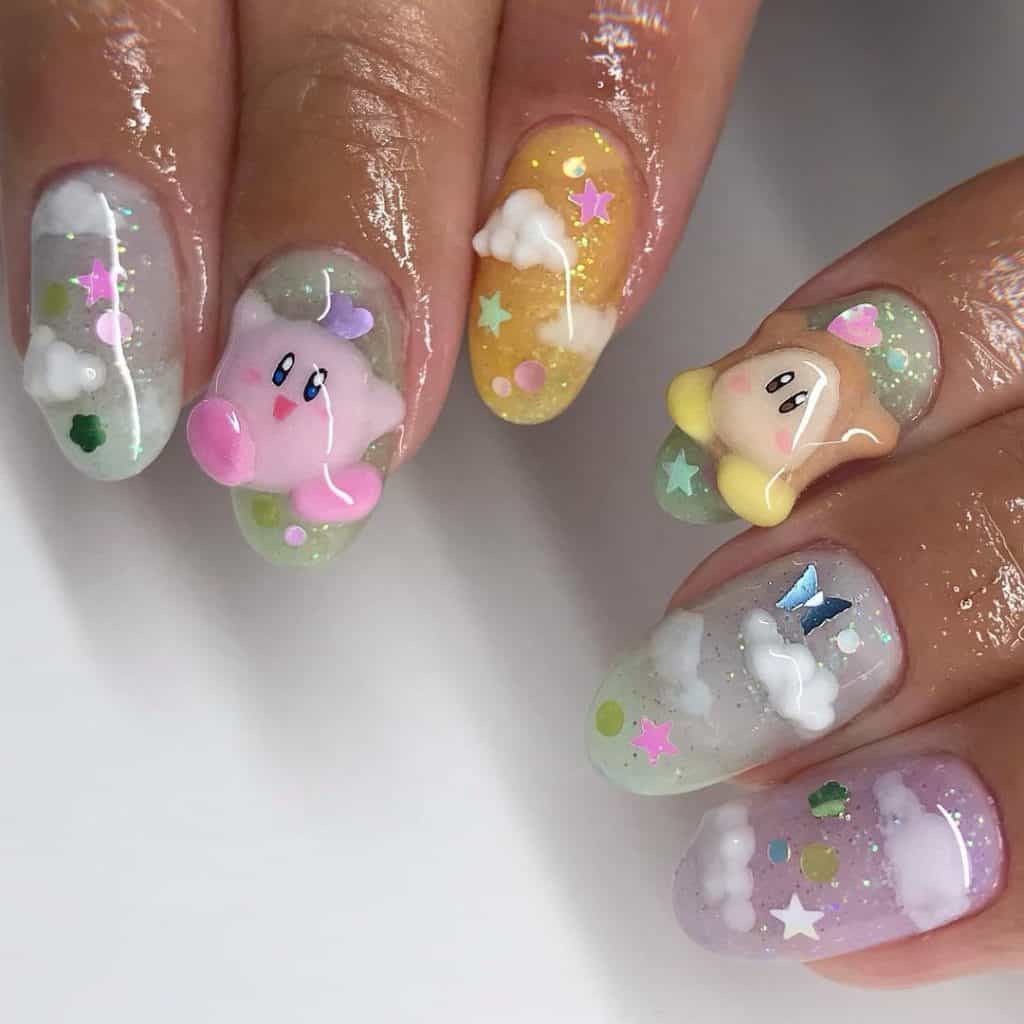
- Start with clean, dry nails. If your nails are not clean, the polish will not adhere properly. Be sure to push back your cuticles and trim your nails if needed.
- Apply a base coat. A base coat will help to protect your nails from the polish and extend the life of your manicure.
- Choose a jelly nail polish color. Jelly nails look best in bright, summery colors. You can also choose a sheer color for a more natural look.
- Apply two coats of jelly nail polish. Be sure to apply each coat thinly and allow it to dry completely before applying the next coat.
- Seal the polish with a top coat. A top coat will help to protect your nails and give them a shiny finish.
Here are some tips for getting beach-ready jelly nails:

- Use a good quality nail polish. A high-quality nail polish will last longer and will not chip or peel as easily.
- Apply the polish in thin coats. Thick coats of polish are more likely to chip and peel.
- Allow each coat of polish to dry completely before applying the next coat. This will help to prevent the polish from smudging or bubbling.
- Be careful not to over-buff your nails. Over-buffing can damage your nails and make them more susceptible to chipping.
- Wear gloves when doing dishes or other chores that could damage your nails. This will help to protect your nails from the harsh chemicals.
- Keep your nails hydrated. Dry, brittle nails are more likely to chip and peel. Apply a cuticle oil or moisturizer to your nails regularly to keep them hydrated.


Jelly nails are a great way to add a pop of color to your beach vacation look. With their translucent, glossy finish, jelly nails are sure to turn heads wherever you go. So what are you waiting for? Get ready for the beach with a set of jelly nails today!
Here are some additional tips for getting beach-ready nails:

- Keep your nails short. Long nails are more likely to get caught on things and break.
- Choose a nail shape that is durable. Square or oval nails are more durable than stiletto or almond nails.
- Use a clear or nude polish. A clear or nude polish will help to camouflage any chips or scratches.
- Apply a protective top coat. A top coat will help to protect your nails from the elements.
- Wear gloves when doing activities that could damage your nails. This includes gardening, cleaning, and doing dishes.
- Keep your nails hydrated. Dry, brittle nails are more likely to break. Apply a cuticle oil or moisturizer to your nails regularly to keep them hydrated.

By following these tips, you can enjoy your beach vacation with beautiful, healthy nails.

5 Jelly Nail Art Designs for a Beachy Summer Look
Summer is the time for bright colors, fun prints, and beachy vibes. And what better way to show off your summer spirit than with some jelly nail art? Jelly nails are a type of nail polish that has a translucent, jelly-like finish. They're perfect for creating a beachy, carefree look.

If you're looking for some inspiration for your next jelly nail design, check out these five ideas.


1. Neon jelly nails
Neon colors are always a popular choice for summer, and they look especially great on jelly nails. You can either choose a single neon color for all of your nails, or mix and match different colors for a more playful look.
2. Floral jelly nails


Floral prints are another great option for summer. You can paint flowers directly on your nails, or use a stamping plate to create a more intricate design. For a more subtle look, try using a sheer jelly polish over a white base coat.
3. Geometric jelly nails

Geometric shapes are always stylish, and they're perfect for adding a touch of edge to your beachy look. You can create geometric shapes using a nail art brush, or you can use a stamping plate.


4. Beach nails jelly
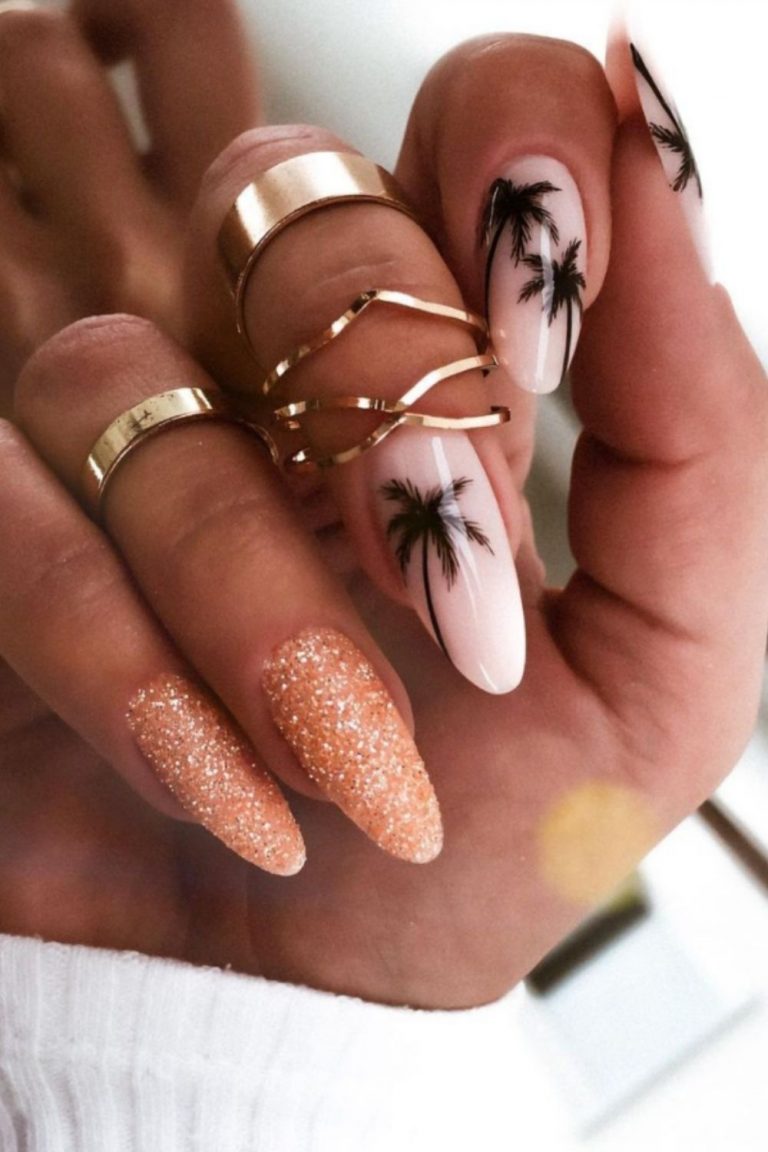
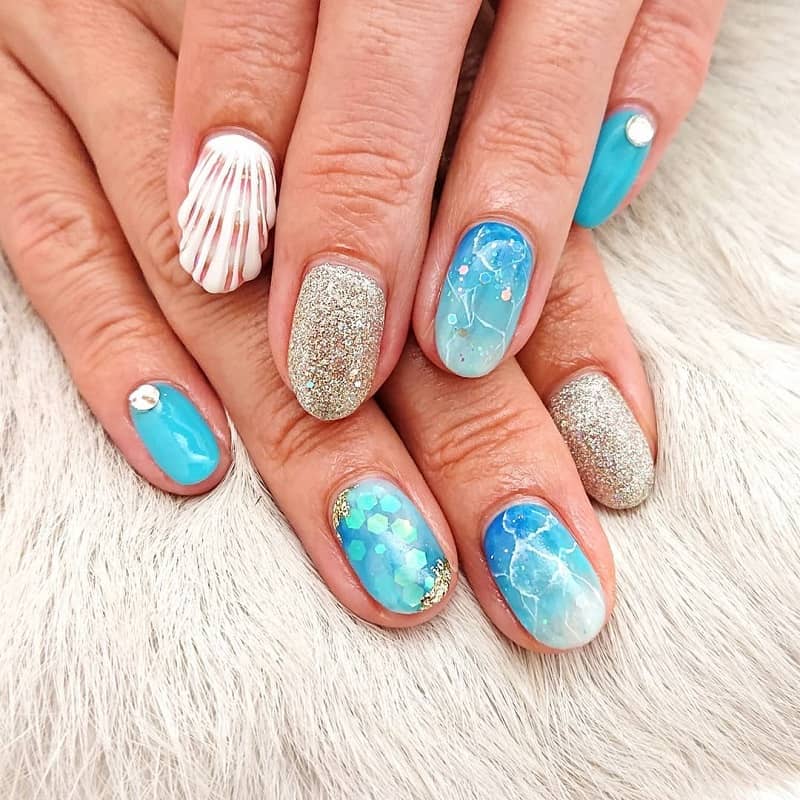
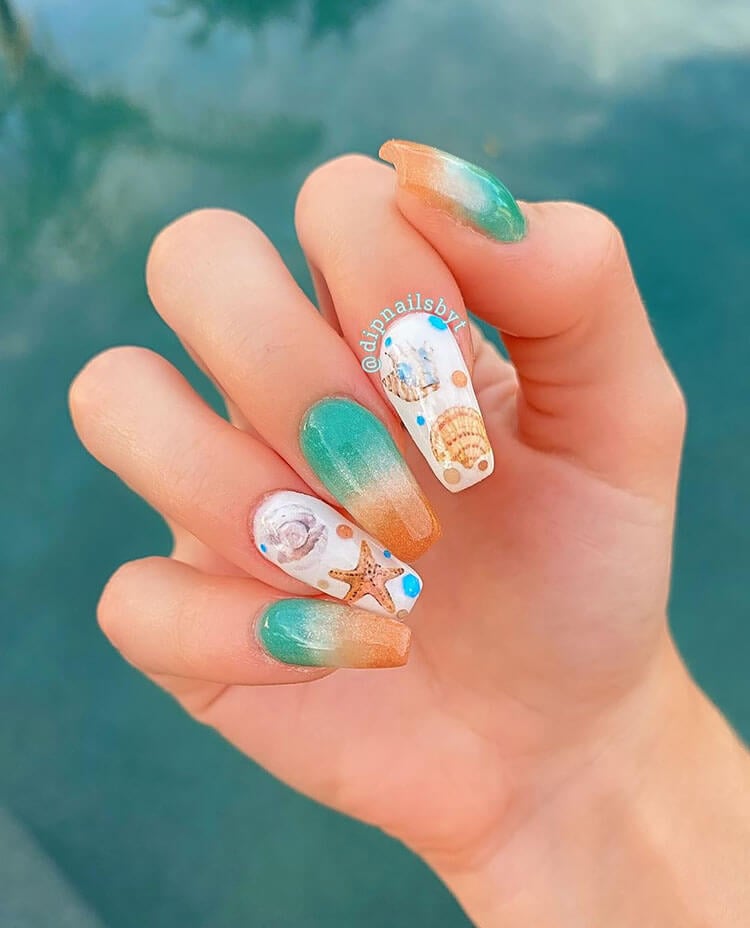
Of course, no beachy nail art look would be complete without some beach-inspired designs. Try painting palm trees, shells, or waves on your nails. You can also add a touch of sparkle with some glitter or nail gems.

5. Ombré jelly nails


Ombré nails are a great way to add a little dimension to your look. You can create an ombré effect by gradually blending two or more colors together. For a beachy look, try using a light blue or pink base color and then ombre it into a darker shade.
Here are some tips for creating jelly nail art:

- Use a good quality jelly polish. A cheap jelly polish will not have the same translucent finish as a high-quality polish.
- Apply two coats of jelly polish for a more opaque look.
- Use a top coat to seal in the polish and prevent it from chipping.
- Be careful not to over-buff your nails before applying jelly polish. This can damage the jelly polish and cause it to chip more easily.
- If you want to add glitter or nail gems to your nails, wait until the jelly polish is completely dry before applying them.

Jelly nails are a fun and easy way to add a touch of summer style to your look. So why not give them a try?.
