5 Beach Nail Art Designs for Your Next Summer Getaway
5 Beach Nail Art Designs for Your Next Summer Getaway
Summer is the time to let loose and have some fun, and that includes your nails! If you're planning a beach vacation, why not show off your summertime style with some beach-inspired nail art?
Here are five beach nail art designs that are perfect for your next summer getaway:
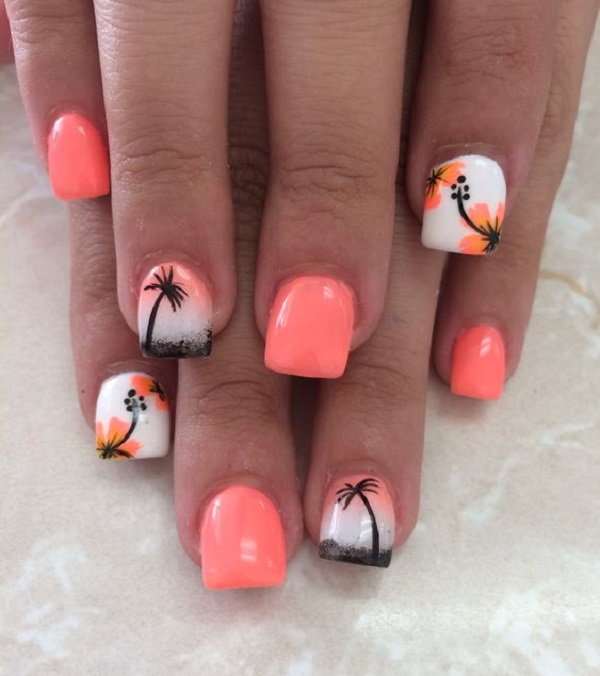
- Tropical nails
Tropical nails are a great way to show your love of the beach. This design features bright colors and tropical-inspired images, such as palm trees, flowers, and flamingos. To create this look, start with a base coat of your favorite light pink or coral polish. Then, use a dotting tool or toothpick to add small dots of different colors to your nails. You can also use a thin brush to paint on images of palm trees or flowers. Finish with a coat of topcoat to protect your design.

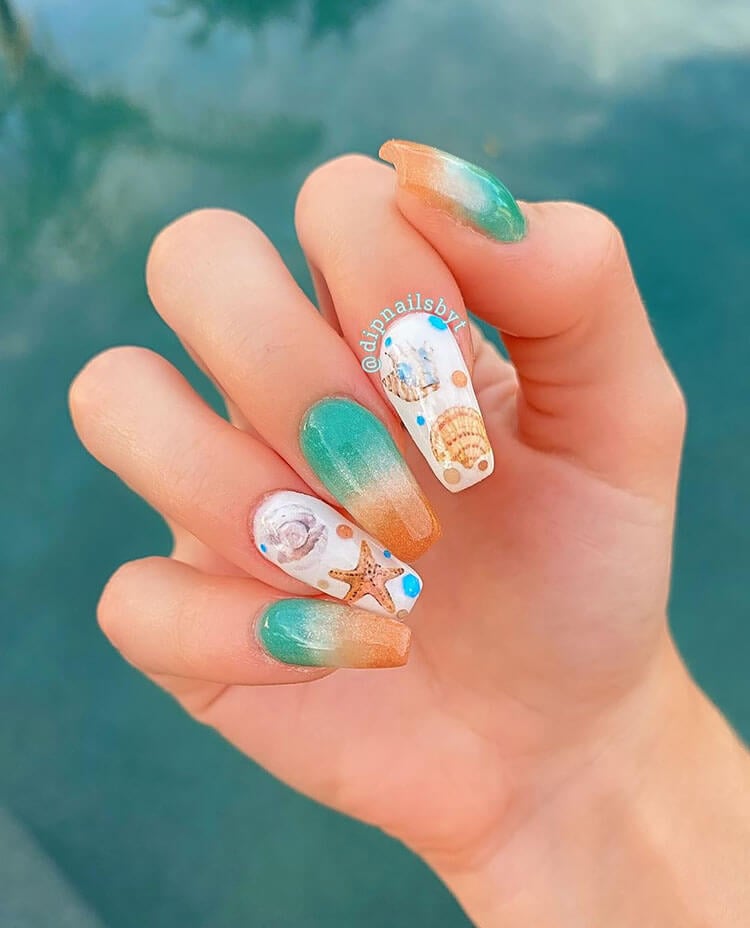
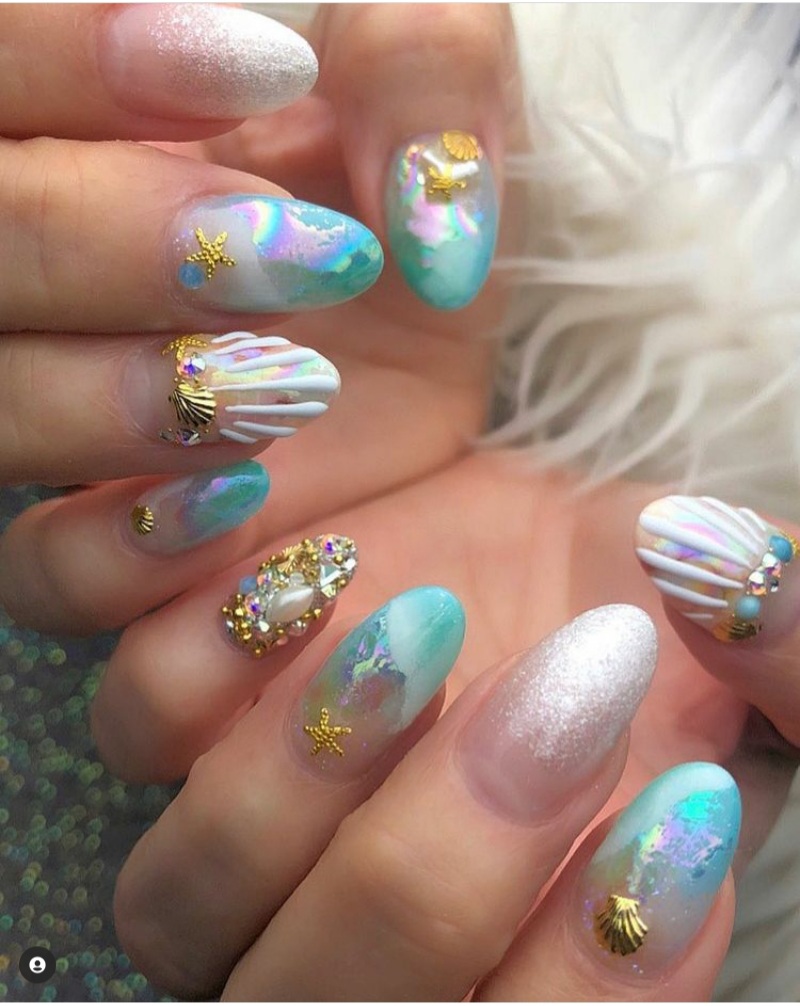
- Shell nails
Shell nails are another great option for a beach-themed mani. This design features small seashells painted onto your nails. To create this look, start with a base coat of white polish. Then, use a thin brush to paint small shells onto your nails. You can use different colors of polish to create a variety of shell designs. Finish with a coat of topcoat to protect your design.
- Sandcastle nails

Sandcastle nails are a fun and whimsical way to show your love of the beach. This design features a sandcastle built on top of your nails. To create this look, start with a base coat of white polish. Then, use a toothpick or small brush to draw the outline of a sandcastle on your nails. Fill in the sandcastle with small dots of different colors of polish. Finish with a coat of topcoat to protect your design.
-
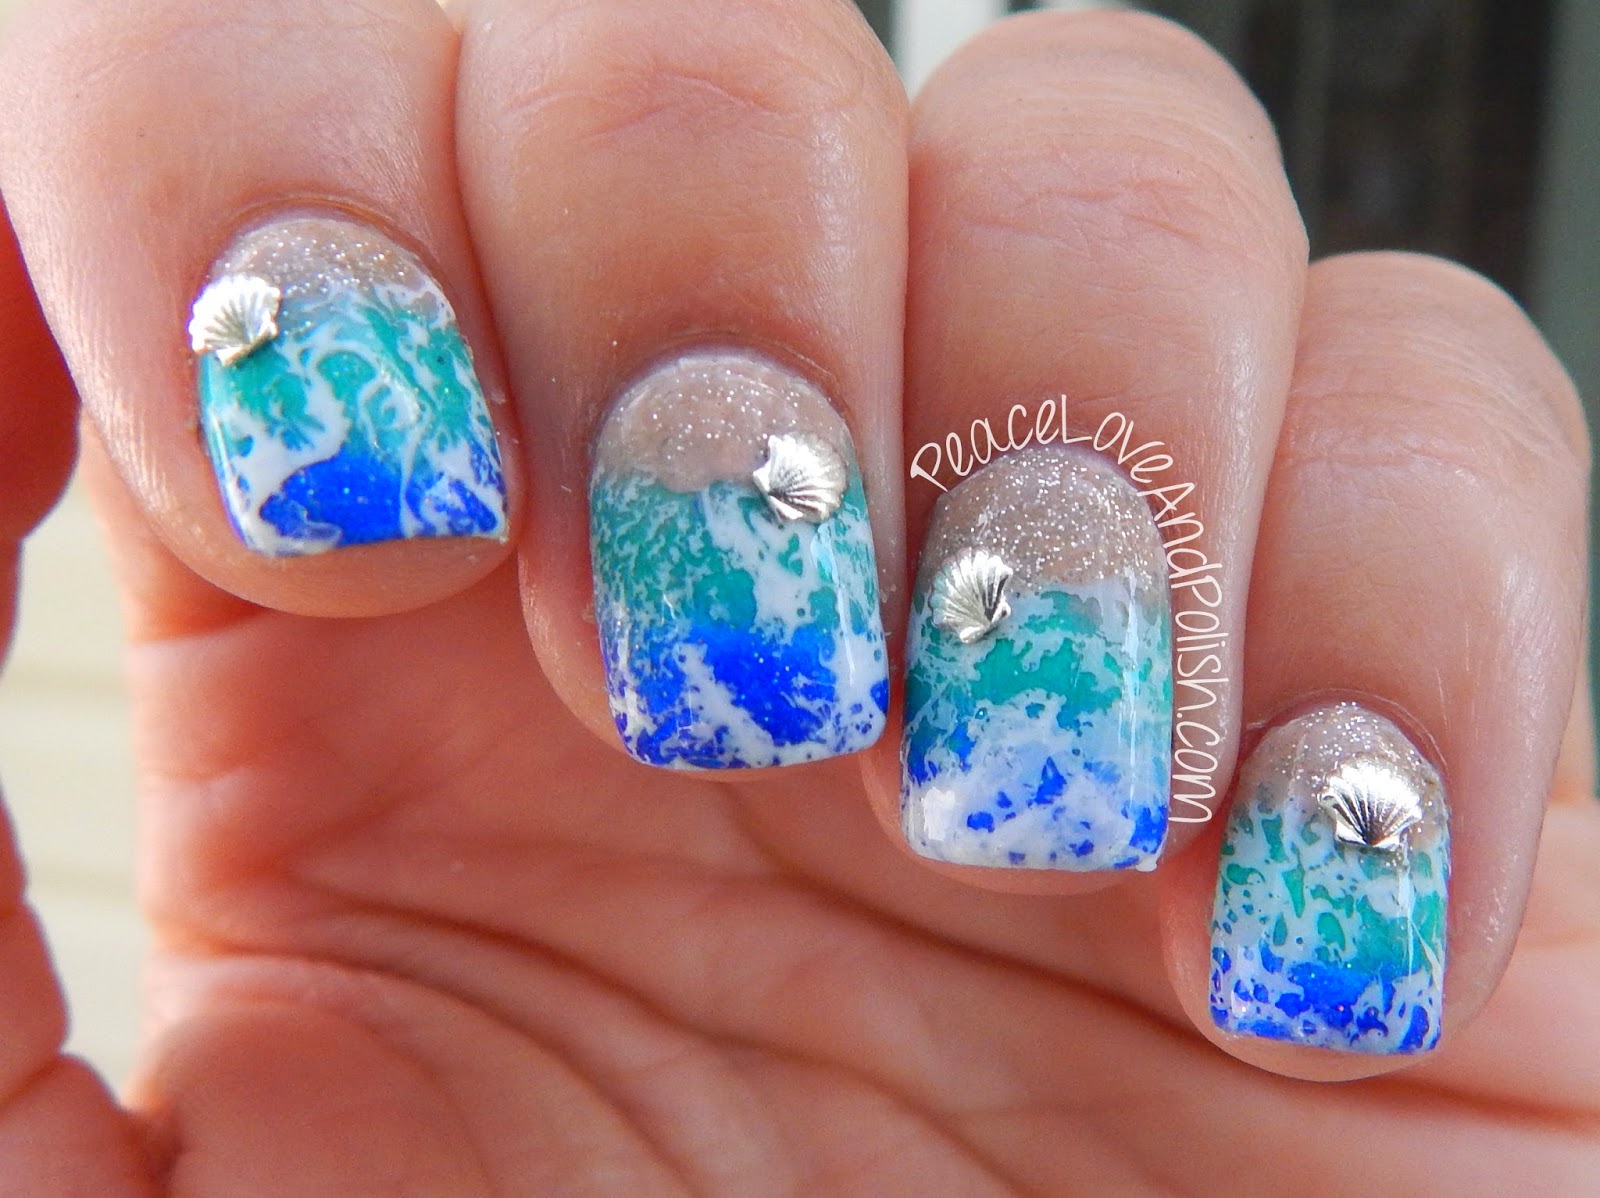
Wave nails crashing waves Wave nails are a great way to capture the beauty of the ocean. This design features waves painted onto your nails. To create this look, start with a base coat of blue polish. Then, use a thin brush to paint waves onto your nails. You can use different shades of blue polish to create a realistic wave effect. Finish with a coat of topcoat to protect your design.
-
Sunrise nails

Sunrise nails are a beautiful way to celebrate the start of a new day. This design features a sunrise painted onto your nails. To create this look, start with a base coat of yellow polish. Then, use a thin brush to paint a gradient of colors from yellow to orange to red on your nails. Finish with a coat of topcoat to protect your design.
These are just a few of the many beach nail art designs that you can try. With a little creativity, you can easily create a unique and stylish mani that will perfectly complement your summer vacation.
Tips for Applying Beach Nail Art


Here are a few tips for applying beach nail art that will help you achieve a professional-looking mani:
- Start with clean nails. Make sure your nails are free of dirt, oil, and polish before you start applying nail art.
- Use a good base coat. A good base coat will help to protect your nails and prevent your nail art from chipping or peeling.
- Apply your nail art carefully. Take your time when applying your nail art, and make sure to use a steady hand.
- Finish with a top coat. A top coat will help to seal in your nail art and protect it from damage.

With a little practice, you'll be able to create beautiful beach nail art that will turn heads wherever you go.


Beach Nail Art Supplies
Here are a few of the supplies you'll need to create beach nail art:

- A variety of nail polish colors
- A small brush or toothpick
- A dotting tool
- A top coat
- A base coat
- A nail file
- Cuticle oil


How to Care for Your Beach Nail Art
To keep your beach nail art looking its best, follow these tips:

- Avoid soaking your nails in water for long periods of time.
- Use a gentle nail polish remover when removing your nail art.
- Moisturize your nails regularly with cuticle oil.
- Protect your nails from the sun with a good quality sunscreen.


By following these tips, you can enjoy your beach nail art for weeks to come.
5 Fun and Easy Beach Nails Art Designs
Summer is the time to let loose and have some fun, and that includes your nails! If you're looking for a way to add a little beachy flair to your look, beach nails art is the perfect way to do it.
Beach nails art is all about bright colors, fun shapes, and carefree designs. It's the perfect way to show off your personality and your love of the beach.

Here are five easy beach nails art designs that you can try at home:
- Shells
Shells are a classic beachy motif, and they're easy to incorporate into your nails. You can paint shells directly onto your nails, or you can use decals or stickers. If you're feeling creative, you can even try sculpting your own shells out of nail art acrylic.

- Sandcastles
Sandcastles are another great way to bring the beach to your nails. You can paint a sandcastle directly onto your nails, or you can use nail art stickers or decals. If you're feeling ambitious, you can even try sculpting your own sandcastle out of nail art acrylic.
- Fish

Fish are a fun and playful way to add a beachy touch to your nails. You can paint fish directly onto your nails, or you can use decals or stickers. If you're feeling creative, you can even try sculpting your own fish out of nail art acrylic.
- Sunglasses
Sunglasses are a must-have for any beach day, so why not add them to your nails? You can paint sunglasses directly onto your nails, or you can use decals or stickers. If you're feeling ambitious, you can even try sculpting your own sunglasses out of nail art acrylic.

- Waves
Waves are a beautiful and serene way to capture the feeling of the beach. You can paint waves directly onto your nails, or you can use decals or stickers. If you're feeling ambitious, you can even try sculpting your own waves out of nail art acrylic.
These are just a few of the many beach nails art designs that you can try. Let your imagination run wild and create your own unique beach nails art masterpiece!


Tips for Creating Beach Nails Art
Here are a few tips to help you create your own beach nails art masterpiece:

- Use bright colors. Beach nails art is all about bright, bold colors. Don't be afraid to use vibrant colors like turquoise, coral, and fuchsia.
- Use fun shapes. Beach nails art is all about having fun, so don't be afraid to use fun shapes like shells, fish, and sandcastles.
- Don't be afraid to experiment. The best beach nails art designs are the ones that are unique and personal. Don't be afraid to experiment with different colors, shapes, and designs until you find something that you love.


With a little creativity and imagination, you can easily create your own beach nails art masterpiece that will turn heads wherever you go.
Here are some additional tips for creating beach nails art:

- Start with a clean base. Make sure your nails are clean and free of any oils or dirt before you start painting.
- Use a good quality nail polish. A good quality nail polish will last longer and give you a more professional finish.
- Apply thin layers of polish. It's better to apply thin layers of polish and allow them to dry completely between coats than to apply thick layers of polish that are more likely to chip.
- Seal your nails with a top coat. A top coat will help to protect your nails art and keep it looking its best.


With these tips, you'll be able to create beautiful beach nails art that will last all summer long.
Beach Nails Art Inspiration

If you're looking for some inspiration for your beach nails art, here are a few ideas to get you started:

- Shells: Paint shells directly onto your nails, or use decals or stickers. You can also try sculpting your own shells out of nail art acrylic.
- Sandcastles: Paint a sandcastle directly onto your nails, or use decals or stickers. You can also try sculpting your own sandcastle out of nail art acrylic.
- Fish: Paint fish directly onto your nails, or use decals or stickers. You can also try sculpting your own fish out of nail art acrylic.
- Sunglasses: Paint sunglasses directly onto your nails, or use decals or stickers. You can also try sculpting your own sunglasses out of nail art acrylic.
- **Wave.
