
Nail Art Ideas That Are Almost Too Beautiful to Try
Have you ever scrolled through Instagram and seen nail art so exquisite, so intricate, that it stopped you in your tracks? Designs that look like miniature masterpieces, glittering galaxies, or delicate floral arrangements painted onto fingernails? We're talking about nail art that seems almost too beautiful, too intimidating, to even attempt.
The problem is that sometimes when we see these incredible designs, a wave of doubt washes over us. We think, "I could never do that!" or "That looks way too complicated and time-consuming." Plus, there’s always the fear of spending hours on a design only to have it chip the next day.
This blog post is for anyone who has ever felt inspired and intimidated by breathtaking nail art. We're going to break down some stunning designs, explore techniques, and offer tips to make even the most intricate-looking nail art feel achievable. Get ready to unleash your inner nail artist!
We'll delve into personal experiences, history, secrets, and fun facts behind mesmerizing nail art. I will show you tips and tricks to help you create your own gorgeous manicures, turning those "too beautiful to try" designs into your next nail art project. Let's embark on this journey of nail art discovery!
Personal Experiences with Intricate Nail Art
My journey with nail art started with simple, single-color manicures. I was intimidated by anything more complicated. I remember seeing a picture of galaxy nails online – a swirl of blues, purples, and glitter that looked like a tiny universe on each fingertip. It felt so beyond my capabilities. I bought a bunch of polishes and sponges, watched countless tutorials, and then tentatively began. It was a messy process, let me tell you! My fingers were stained, there was glitter everywhere, and the initial results were… less than stellar. But I kept practicing, tweaking the technique, and slowly, my galaxy nails started to resemble the image I had in my head. That's when I understood that nail art, like any skill, is a journey. It's about learning, experimenting, and not being afraid to make mistakes. Don't let the complexity you see online discourage you. Many of these looks can be achieved with practice and the right tools. Start simple, master basic techniques, and gradually work your way up to more intricate designs. The satisfaction of creating a stunning manicure yourself is truly rewarding. Remember to have fun and enjoy the process. With dedication and a bit of patience, you'll be amazed at what you can create.
What Exactly Constitutes "Too Beautiful to Try"?
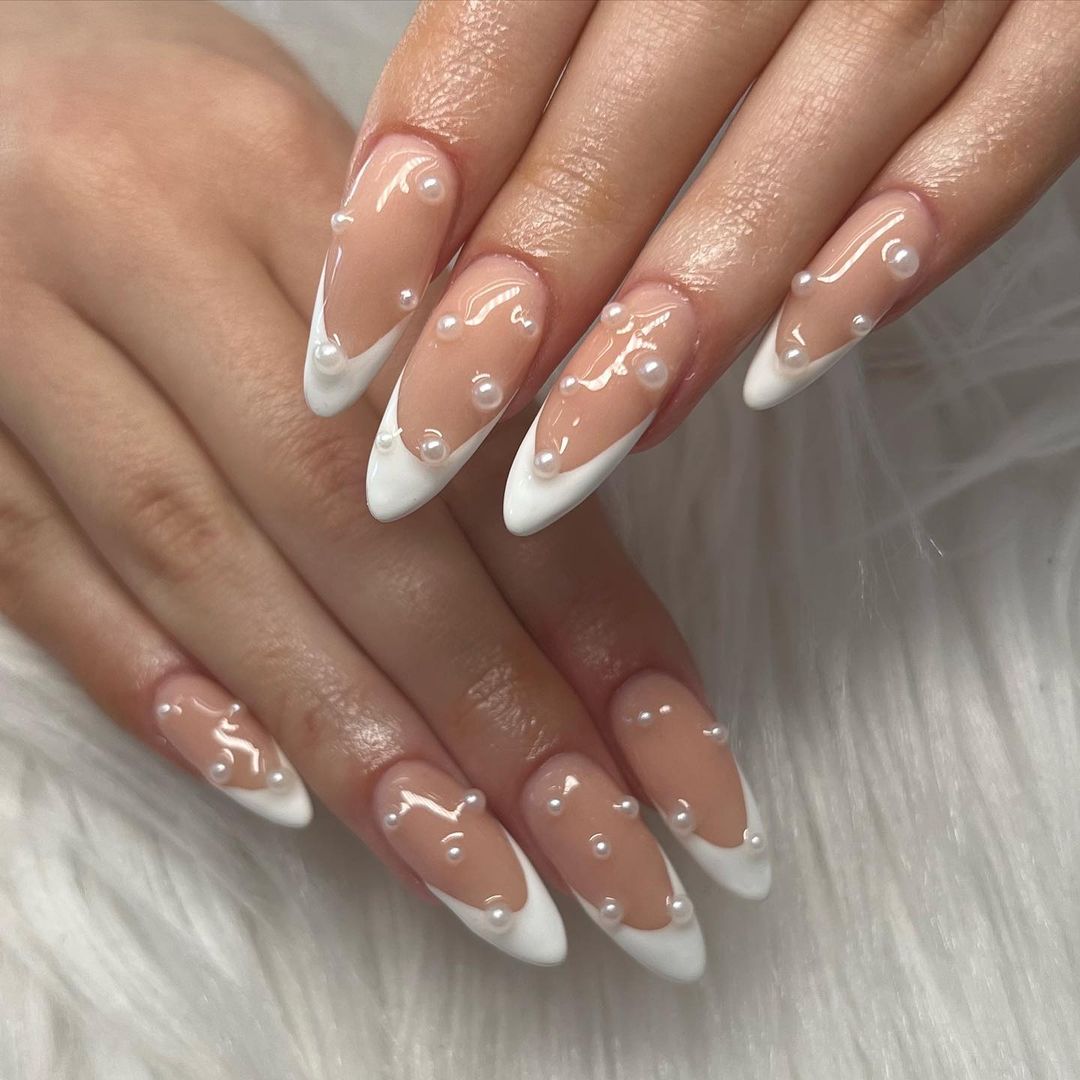
"Too beautiful to try" nail art often involves complex techniques, intricate details, and a perceived level of skill that seems unattainable. It's the kind of nail art that features detailed hand-painted designs, perfectly blended gradients, or elaborate embellishments like tiny crystals and pearls. These designs often require specific tools and products, adding to the initial intimidation factor. The fear of failure, the belief that you lack the necessary artistic talent, and the perceived time commitment can all contribute to the feeling that these designs are beyond reach. In reality, many of these designs are achievable with the right guidance and a willingness to learn. Breaking down complex designs into simpler steps, using readily available tools, and practicing basic techniques can make even the most intimidating nail art feel within reach. The key is to approach it with a growth mindset, focusing on the learning process rather than the immediate outcome. Remember that even professional nail artists started somewhere, and their skills were honed through practice and experimentation. So, don't let the perceived complexity of "too beautiful to try" nail art hold you back from exploring your creativity and discovering your own nail art potential.
The History and Myth of Exquisite Nail Designs
The history of nail art stretches back centuries, with evidence of ancient cultures using natural dyes and pigments to adorn their nails. In ancient Egypt, nail color signified social status, with royalty sporting vibrant reds and golds. The modern nail polish we know today emerged in the early 20th century, revolutionizing nail care and paving the way for the elaborate designs we see today. While intricate nail art has become increasingly popular with the rise of social media, the desire to embellish and personalize nails is not a new phenomenon. The myth that only professional nail artists can create stunning designs is simply untrue. With the abundance of online tutorials, affordable tools, and innovative products available, anyone can learn to create beautiful nail art at home. The key is to start with simple techniques, practice regularly, and don't be afraid to experiment. The idea that intricate nail art requires hours of dedicated time is also a misconception. While some designs may be time-consuming, many can be achieved in a reasonable amount of time with practice and efficient techniques. So, let's dispel the myths surrounding intricate nail art and embrace the possibilities of creating beautiful designs ourselves.
Hidden Secrets to Achieving Seemingly Impossible Nail Art
One of the biggest secrets to achieving seemingly impossible nail art lies in breaking down complex designs into manageable steps. Instead of trying to recreate an entire intricate design at once, focus on mastering individual elements and techniques. Another secret is the power of layering. Many stunning nail art designs are built upon layers of different colors, textures, and effects. Experiment with layering polishes, glitters, and even thin coats of acrylic paint to create depth and dimension. Don't underestimate the importance of quality tools. Investing in a good set of brushes, dotting tools, and nail art stickers can make a significant difference in the ease and precision of your designs. Practice makes perfect. The more you practice different techniques, the more confident and skilled you will become. Start with simple designs and gradually work your way up to more complex ones. Utilize online resources. There are countless tutorials and guides available online that can teach you everything from basic nail art techniques to advanced design concepts. Learn from experienced nail artists and adapt their techniques to your own style. Don't be afraid to experiment. Try new colors, textures, and techniques to discover your own unique nail art style. The key is to have fun and enjoy the process of creating beautiful nail art.
Recommendations for "Too Beautiful" Nail Art Designs to Try
For those wanting to dip their toes into the world of stunning nail art, I would recommend starting with abstract designs. Think watercolor effects achieved with diluted polish or marbling using a toothpick to swirl colors together. These are surprisingly easy and forgiving. Another great option is geometric nail art. Use striping tape to create clean lines and geometric shapes. The contrast of colors and the sharp lines instantly elevate the look. For a touch of elegance, try adding delicate gold foil accents. Simply apply a thin layer of adhesive and gently press the foil onto your nails. The result is a luxurious and eye-catching design. If you're feeling more adventurous, consider trying a simple floral design using dotting tools. Create small dots of different colors to form petals and leaves. You can also use nail art brushes to create more intricate floral patterns. Remember, the key is to start with simple techniques and gradually work your way up to more complex designs. Don't be afraid to experiment and have fun. With practice and patience, you'll be creating stunning nail art in no time. Consider investing in a few key tools like striping tape, dotting tools, and nail art brushes to make the process easier.
Breaking Down a Galaxy Nail Design (A Detailed Guide)
Creating galaxy nails might seem daunting, but with the right approach, it becomes an accessible and truly beautiful design. Start with a base of dark blue or black polish. Once dry, use a makeup sponge to dab on small amounts of purple, pink, and turquoise polish in random areas, blending the colors as you go. Next, use a fine-tipped brush or a dotting tool to add tiny white dots to represent stars. Don't be afraid to vary the size of the dots for a more realistic effect. To create a nebula effect, use a thin brush to streak white polish across the design in a swirling motion. For a final touch, add a sprinkle of holographic glitter to simulate the shimmer of distant galaxies. Seal the design with a glossy top coat to protect your artwork and enhance the colors. If you're feeling extra creative, you can add small details like shooting stars or planets using acrylic paint. Remember to work in thin layers and allow each layer to dry before adding the next. This will prevent the polish from smudging and ensure a clean, crisp design. With practice and patience, you can create a stunning galaxy nail design that is truly out of this world. Don't be afraid to experiment with different colors and techniques to create your own unique galaxy.
Tips and Tricks for Achieving Professional-Looking Nail Art at Home
Achieving salon-worthy nails at home is definitely within reach with the right techniques. First, proper nail preparation is key. Always start with clean, dry nails. Push back your cuticles and gently buff the surface to create a smooth canvas. Use a base coat to protect your nails and help the polish adhere better. When applying polish, work in thin, even coats. This will prevent streaks and bubbles and ensure a smooth, long-lasting finish. Allow each coat to dry completely before applying the next. This is crucial for preventing smudging and ensuring that your design stays intact. Use a clean-up brush dipped in nail polish remover to clean up any mistakes around your cuticles. This will create a clean, professional-looking edge. Seal your design with a good quality top coat. This will protect your artwork and add a glossy shine. Consider using a quick-drying top coat to speed up the drying process. Invest in quality tools. A good set of brushes, dotting tools, and nail art stickers can make a significant difference in the ease and precision of your designs. Practice makes perfect. The more you practice different techniques, the more confident and skilled you will become.
The Importance of Base and Top Coats
Base and top coats are the unsung heroes of any manicure, especially when tackling intricate nail art. A base coat creates a smooth surface for your polish, preventing staining and promoting adhesion. It acts as a barrier between your natural nail and the colored polish, preventing the pigments from seeping into your nail bed. This is especially important when using dark or highly pigmented polishes. A good base coat will also help to fill in any ridges or imperfections on your nails, creating a smooth and even canvas for your design. A top coat seals in your nail art, protecting it from chipping, smudging, and fading. It also adds a glossy shine or a matte finish, depending on your preference. A good top coat will extend the life of your manicure by several days, keeping your design looking fresh and vibrant. When choosing a base and top coat, look for formulas that are chip-resistant, fast-drying, and non-yellowing. Apply a thin, even layer of both the base and top coat, making sure to cover the entire nail surface. Reapply top coat every few days to maintain the shine and protect your design. With a little bit of extra effort, you can significantly improve the longevity and appearance of your nail art.
Fun Facts About Nail Art
Did you know that nail polish was originally inspired by car paint? The first modern nail polishes were created in the early 20th century and were based on the formulas used to paint automobiles. The longest fingernails on record belonged to Lee Redmond, who hadn't cut her nails since 1979. Her nails reached a combined length of over 28 feet! Nail art is a surprisingly popular form of self-expression. Millions of people around the world use nail art to express their personality, creativity, and style. There are even nail art competitions where artists showcase their skills and compete for prizes. Gel polish, a popular alternative to traditional nail polish, was invented in the 1980s. Gel polish is more durable than traditional polish and can last for up to two weeks without chipping. Some nail art designs are so intricate that they require the use of specialized tools and techniques, such as airbrushing, hand-painting, and 3D embellishments. Nail art has even been featured in high fashion magazines and runway shows, showcasing its growing influence in the world of art and design. The popularity of nail art continues to grow, with new trends and techniques emerging all the time. From simple polka dots to elaborate floral designs, there's a nail art style to suit every taste and occasion.
How to Properly Remove Intricate Nail Art
Removing intricate nail art requires a bit more care than simply swiping with nail polish remover. Especially if you've used glitter, gems, or multiple layers of polish, a gentle and thorough approach is essential to protect your nails. The "soak-off" method is often the most effective. Saturate cotton balls with acetone-based nail polish remover, place them on your nails, and secure them with foil. Let them sit for 10-15 minutes. The acetone will break down the polish, making it easier to remove. After soaking, use a cuticle pusher or orange wood stick to gently scrape off the softened polish. Avoid scraping too hard, as this can damage your nails. For stubborn glitter, you might need to repeat the soaking process or use a specialized glitter polish remover. Once all the polish is removed, wash your hands with soap and water. Apply a moisturizing cuticle oil to rehydrate your nails and cuticles. This will help to prevent dryness and breakage. If you've used glue-on nails or gems, soak your nails in warm, soapy water for a few minutes to loosen the adhesive. Gently pry off the nails or gems, being careful not to pull too hard. Avoid using harsh chemicals or abrasive tools to remove nail art, as this can damage your nails. With a little bit of patience and care, you can remove even the most intricate nail art without harming your nails.
What If My Nail Art Isn't Perfect?
So, you tried your hand at that intricate nail art design, and it didn't quite turn out as expected? Don't worry, that's perfectly normal! Nail art, like any skill, takes practice and patience. The most important thing is to learn from your mistakes and keep trying. Instead of focusing on the imperfections, focus on what you did well. Did you master a new technique? Did you experiment with a new color combination? Every attempt is a learning opportunity. If you're not happy with the final result, there are ways to salvage your design. You can add a layer of glitter to cover up any mistakes. You can use nail art stickers or stamps to add some extra flair. Or, you can simply remove the design and start over. Remember, it's just nail polish! Don't be too hard on yourself. Nail art is meant to be fun and creative. Enjoy the process of experimenting and learning. Don't compare yourself to professional nail artists. They have years of experience and training. Just focus on improving your own skills and creating designs that you love. Embrace the imperfections. Sometimes, the little flaws are what make your nail art unique and special.
Listicle: Top 5 "Too Beautiful" Nail Art Designs to Inspire You
Ready to be inspired? Here are five stunning nail art designs that might seem "too beautiful" to try, but are actually achievable with a little practice:
- Watercolor nails: Create a dreamy effect by blending diluted polishes on your nails.
- Marble nails: Swirl different colors of polish together for a luxurious, marbled look.
- Geometric nails: Use striping tape to create clean lines and geometric shapes.
- Floral nails: Add delicate floral accents using dotting tools or nail art brushes.
- Galaxy nails: Recreate the beauty of the night sky with a blend of blues, purples, and glitter.
Each of these designs can be adapted to your own style and skill level. Start with simple variations and gradually work your way up to more complex versions. Don't be afraid to experiment with different colors, textures, and techniques. The key is to have fun and let your creativity shine. With a little bit of practice and patience, you'll be creating stunning nail art designs that everyone will admire. Remember to check online tutorials and guides for step-by-step instructions and inspiration.
Question and Answer Section About Nail Art Ideas That Are Almost Too Beautiful to Try
Q: What if I don't have a steady hand?
A: Practice makes perfect! Try resting your elbow on a table for more stability. Start with simple designs and gradually work your way up to more complex ones.
Q: What if I mess up my nail art?
A: Don't worry! Use a clean-up brush dipped in nail polish remover to correct any mistakes. You can also use a cotton swab or an orange wood stick.
Q: What are some essential tools for nail art?
A: Dotting tools, nail art brushes, striping tape, tweezers, and nail art stickers are all helpful tools to have on hand.
Q: Where can I find inspiration for nail art designs?
A: Instagram, Pinterest, and You Tube are great sources of inspiration. You can also check out nail art blogs and magazines.
Conclusion of Nail Art Ideas That Are Almost Too Beautiful to Try
So, there you have it! Stunning nail art doesn’t have to live solely on your Pinterest boards. With a little practice, the right tools, and a willingness to experiment, those seemingly unattainable designs can be yours to create and enjoy. Don't let the fear of imperfection hold you back. Embrace the learning process, have fun with it, and let your creativity shine through. Whether you’re rocking galaxy nails, delicate floral designs, or bold geometric patterns, remember that the most beautiful nail art is the art that makes you feel confident and happy. Now go forth and create some miniature masterpieces!
