Celebrate the 4th of July with These Quick and Easy Nail Designs!
Celebrate the 4th of July with These Quick and Easy Nail Designs!
The 4th of July is just around the corner, and what better way to celebrate than with a festive new nail design? Whether you're going to a backyard barbecue, a parade, or a fireworks show, these quick and easy nail designs are sure to get you in the patriotic spirit.

Supplies
- Nail polish in red, white, and blue
- Adhesive gems or stickers
- A fine-tipped nail art brush
- A clear topcoat
Step 1: Prep your nails

Start by giving your nails a good cleaning and filing. Then, apply a base coat to protect your nails.
Step 2: Paint your nails

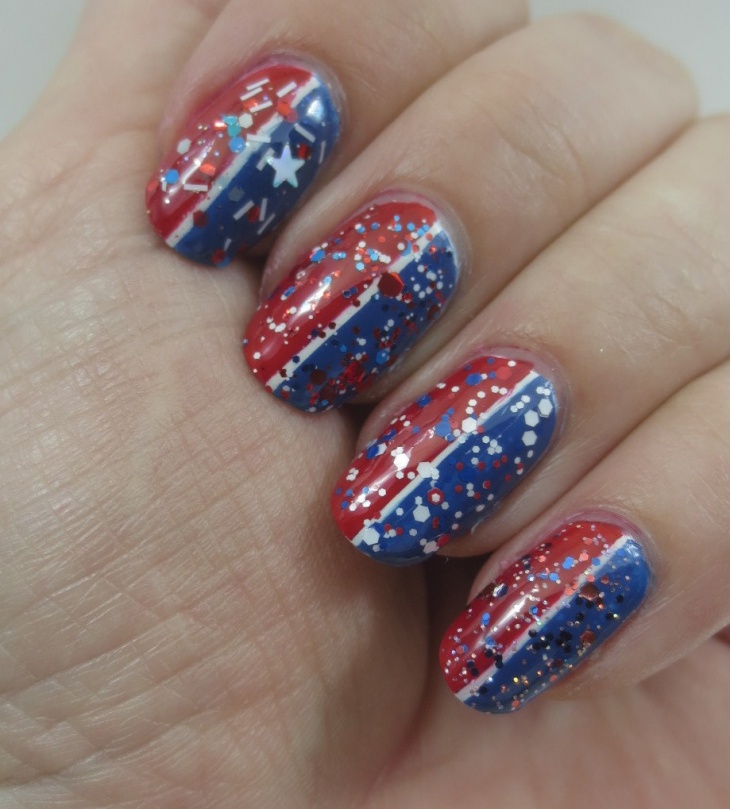
Paint your nails with a solid coat of red, white, or blue nail polish. You can also create a striped design by painting your nails with alternating stripes of red, white, and blue.

Step 3: Add details
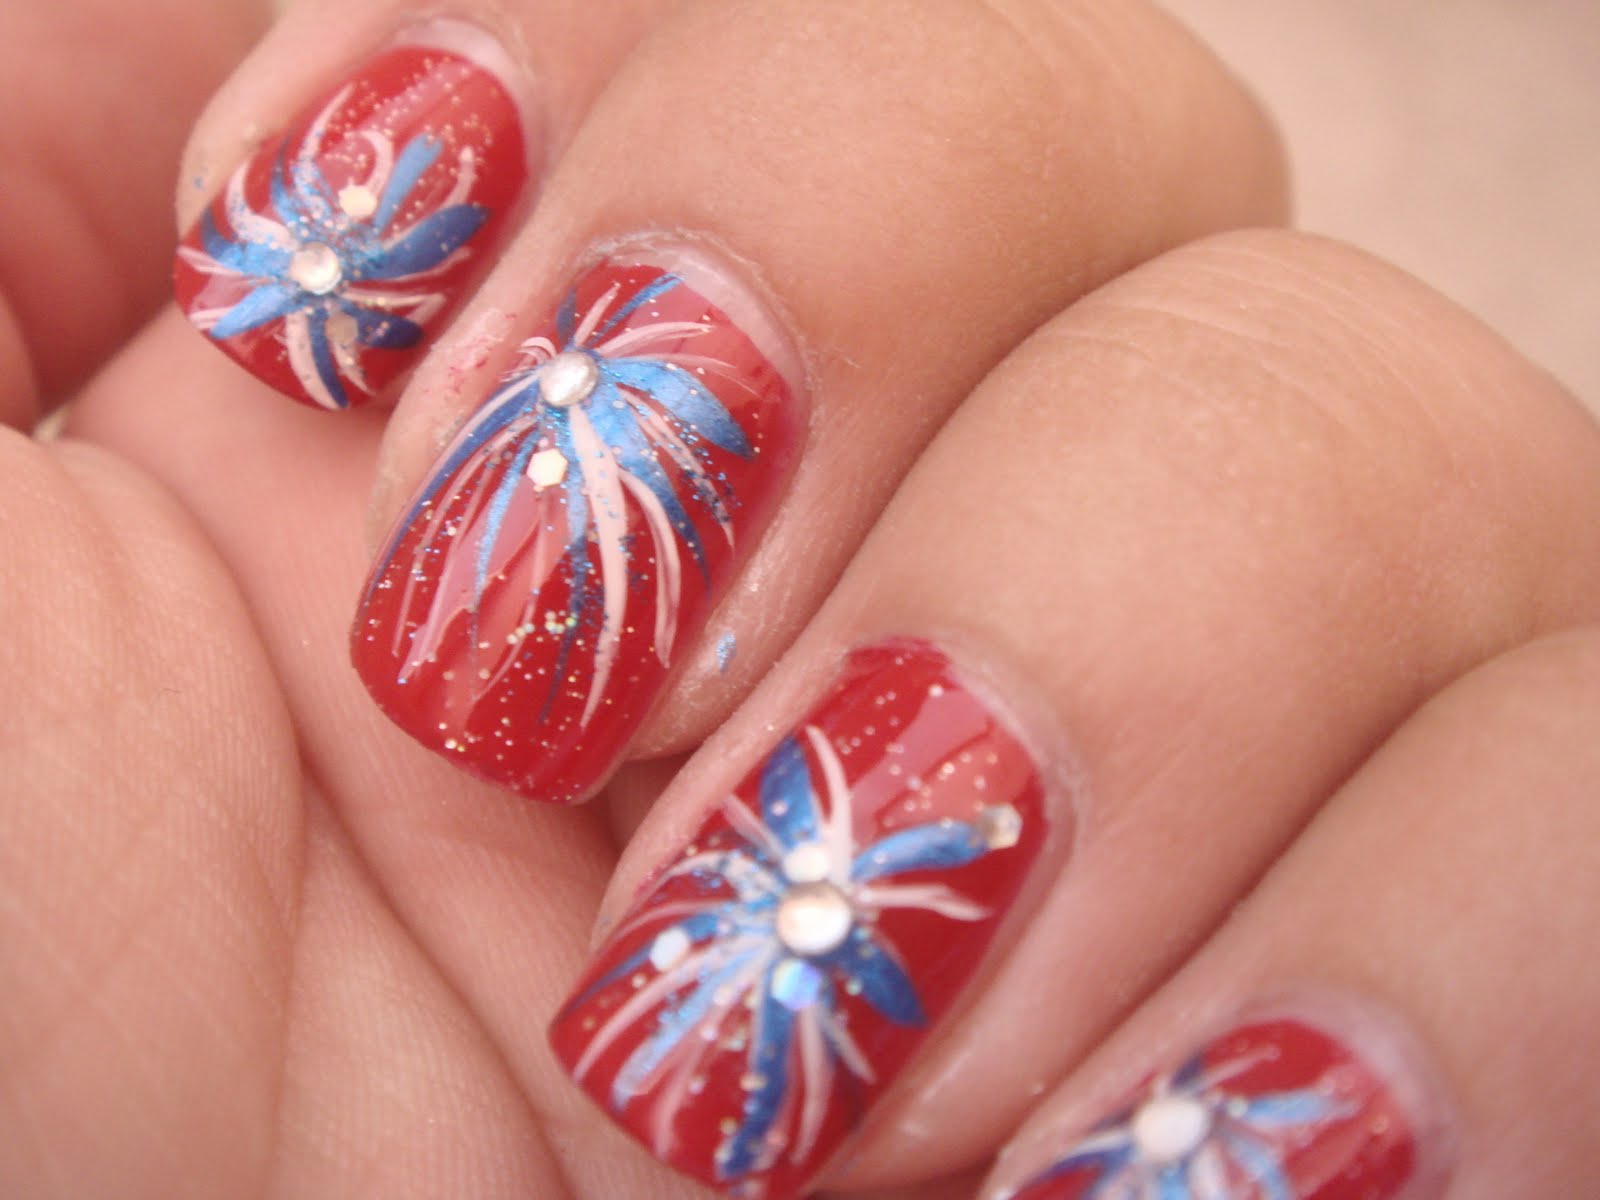
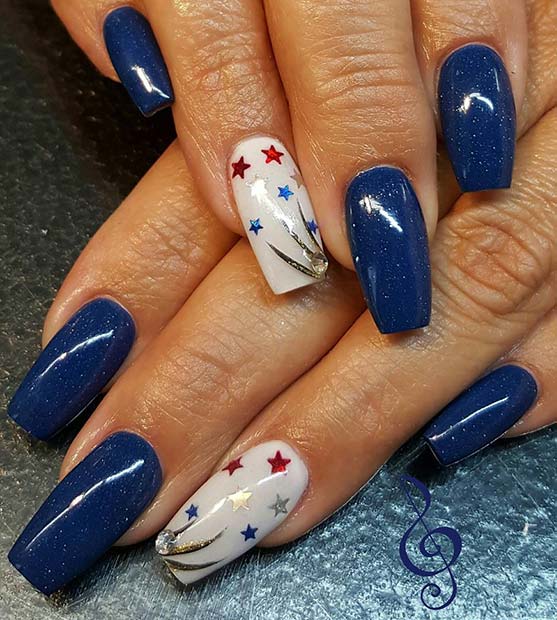
Once your nails are dry, you can add some fun details to your design. Use a fine-tipped nail art brush to paint stars, stripes, or fireworks on your nails. You can also add adhesive gems or stickers to your nails for a more festive look.

Step 4: Seal your design


Finish your nails with a coat of clear topcoat to protect your design and keep your nails looking their best.
Here are a few more tips for creating your perfect 4th of July nail design:

- Use a light hand when applying nail polish so that you don't create any thick or uneven coats.
- If you're not confident in your nail art skills, you can use stencils or decals to create your design.
- Be creative and have fun! There are endless possibilities when it comes to 4th of July nail designs.


Here are some of our favorite quick and easy 4th of July nail designs:
- Red, white, and blue stripes: This classic 4th of July nail design is easy to achieve and looks great on any nail length or shape. Simply paint your nails with alternating stripes of red, white, and blue nail polish. You can also add some stars or fireworks to your nails for a more festive look.
- American flag nails: This patriotic nail design is perfect for showing your love for your country. To create this look, paint your nails with red, white, and blue nail polish in the shape of an American flag. You can also add some stars to your nails for a more detailed look.
- Sparkling fireworks nails: These festive nails are perfect for a night out on the town. To create this look, paint your nails with a base coat of red, white, or blue nail polish. Then, use a fine-tipped nail art brush to paint fireworks on your nails. You can use different colors of nail polish to create a more colorful design.
- Patriotic ombre nails: This ombre nail design is a sophisticated way to celebrate the 4th of July. To create this look, paint your nails with a gradient of red, white, and blue nail polish. You can start with a dark red polish at the base of your nail and gradually lighten the color as you move up your nail. You can also add some stars or fireworks to your nails for a more festive look.

No matter what your style, there's a 4th of July nail design that's perfect for you. So get creative and have some fun celebrating the nation's birthday with your nails!


Keywords: quick 4th of july nails
Quick 4th of July Nails

The Fourth of July is a time for celebration, food, fireworks, and fun. And what better way to celebrate than with a festive manicure? If you're looking for a way to get your nails in the spirit of the holiday without spending hours in the salon, you're in luck. With these quick and easy 4th of July nails, you can have a patriotic mani in no time.
What you need:
- A base coat
- A red nail polish
- A blue nail polish
- A white nail polish
- A glitter nail polish (optional)
- A top coat
- A nail file
- A pair of nail clippers
- A bowl of warm water
- A paper towel

Step 1: Prep your nails
Start by filing and trimming your nails to your desired length. Then, push back your cuticles and buff your nails with a nail buffer. This will help to create a smooth surface for the polish to adhere to.
Step 2: Apply a base coat

Once your nails are prepped, apply a base coat to protect your nails from the polish. Allow the base coat to dry completely before moving on to the next step.

Step 3: Paint your nails
Start by painting your nails with a coat of red nail polish. Allow the polish to dry completely before adding a second coat. Then, use a blue nail polish to create a stripe across the middle of each nail. You can use a toothpick or thin brush to create a clean line. Allow the blue polish to dry completely before moving on to the next step.

Step 4: Add glitter

If you want to add a little sparkle, you can use a glitter nail polish to create a starburst design on each nail. To do this, dip a toothpick or thin brush into the glitter polish and dab it onto the nail in a starburst shape. Allow the glitter polish to dry completely before moving on to the next step.
Step 5: Apply a top coat


Finish off your nails with a coat of top coat to seal in the polish and protect your nails. Allow the top coat to dry completely before enjoying your new 4th of July nails!

Pro tips:
- For a more polished look, use a clean makeup brush to clean up any excess polish around the edges of your nails.
- If you're not confident in your freehand painting skills, you can use a stencil to create the stars.
- If you don't have time to paint your nails yourself, you can always get a 4th of July manicure at your local nail salon.


Celebrate the Fourth of July in style with these festive and easy 4th of July nails!

Here are some additional tips for getting the perfect 4th of July nails:
- Use a bright red nail polish for a bold and patriotic look.
- Add a touch of sparkle with a glitter nail polish.
- Create a starburst design with a toothpick or thin brush.
- Use a stencil to create a perfect American flag design.
- Finish off your nails with a top coat to seal in the polish.


With these tips, you'll be able to create a festive and patriotic manicure that will have you ready to celebrate the Fourth of July in style!.
