
White ombre nail designs
White ombre nail designs
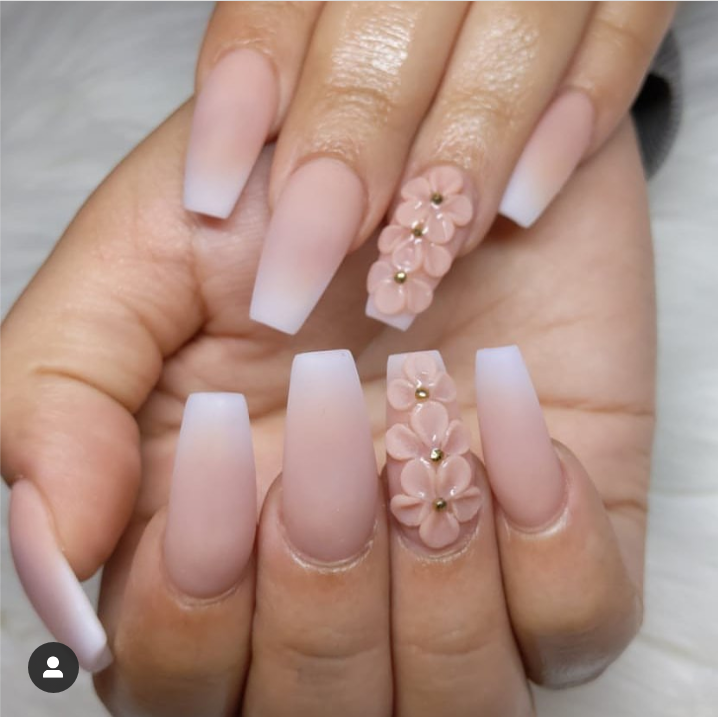
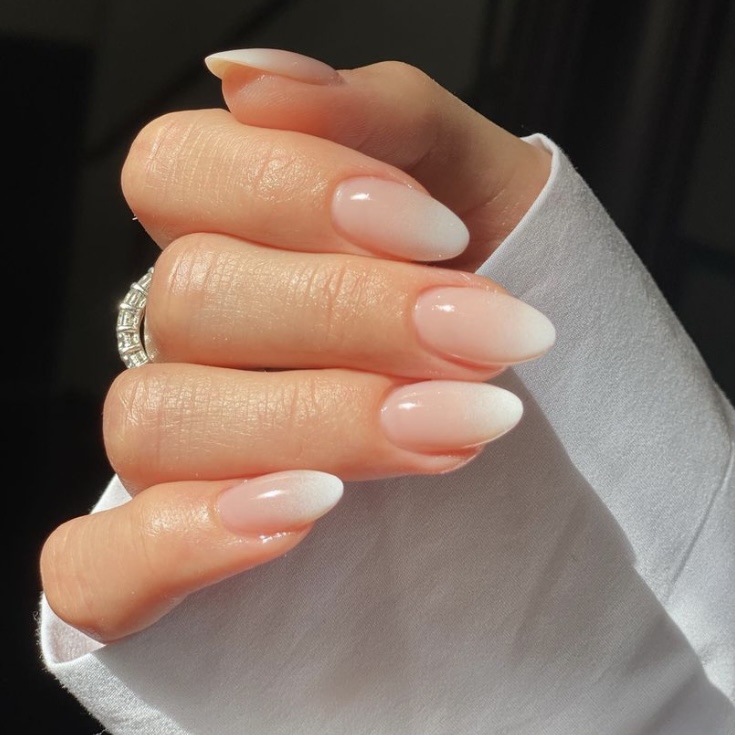
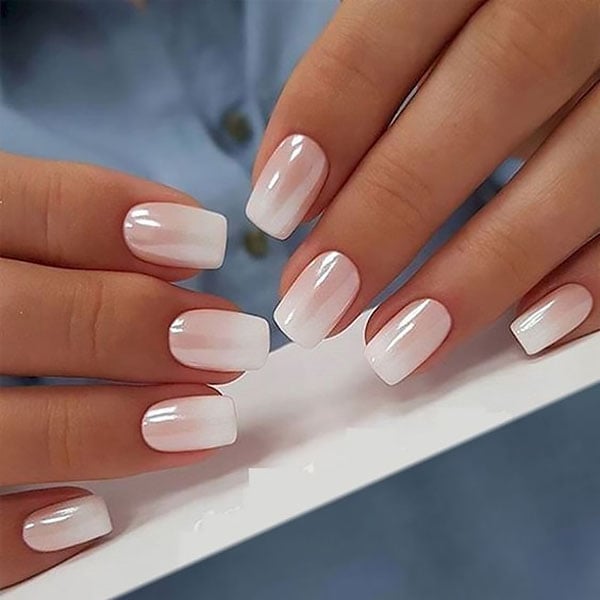
White Ombre Nail Designs
Ombre nails are a popular nail art trend that can be done in a variety of colors. White ombre nails are a particularly elegant and versatile option that can be dressed up or down.
This article will provide you with step-by-step instructions on how to create your own white ombre nails at home. We will also discuss the different types of white ombre nails that you can create, as well as the supplies and tools you will need.
What are White Ombre Nails?
Ombre nails are a type of nail art that gradually fades from one color to another. The ombre effect can be created using any two colors, but white ombre nails are a particularly popular option because they are so versatile.

White ombre nails can be dressed up or down, and they can be paired with any outfit. They are also a great option for special occasions, such as weddings or parties.
Types of White Ombre Nails
There are many different ways to create white ombre nails. The most common method is to use a gradient technique. This involves applying two or more shades of white polish to the nails, starting with the darkest shade at the base of the nail and gradually fading to the lightest shade at the tip.

Another popular way to create white ombre nails is to use a stamping technique. This involves using a stamping plate to create a design on the nails, and then using a white polish to fill in the design.
You can also create white ombre nails using a reverse ombre technique. This involves applying the lightest shade of white polish to the nails first, and then gradually darkening the shade towards the tips.
Supplies and Tools for White Ombre Nails
The following supplies and tools are needed to create white ombre nails at home:
- Base coat
- White nail polish
- Two or more shades of white nail polish (optional)
- A gradient sponge (optional)
- A stamping plate (optional)
- A stamping tool (optional)
- A top coat
Step-by-Step Instructions for White Ombre Nails

To create white ombre nails at home, follow these steps:
- Apply a base coat to all of your nails.
- Choose two or more shades of white nail polish. If you are using a gradient sponge, choose two shades that are close in color. If you are using a stamping plate, choose a design that will look good in white.
- If you are using a gradient sponge, dip the sponge into the darkest shade of white polish. Dab the sponge onto the nail, starting at the base of the nail and gradually moving towards the tip. Repeat this step, using lighter and lighter shades of white polish until you reach the desired ombre effect.
- If you are using a stamping plate, apply a coat of white polish to the nail. Press the stamping plate onto the nail, making sure to align the design with the edge of the nail. Repeat this step, using lighter and lighter shades of white polish until you reach the desired ombre effect.
- Apply a top coat to all of your nails.
Your white ombre nails are now complete!

Tips for Creating White Ombre Nails
Here are a few tips for creating white ombre nails:
- Use a good quality base coat to help your nails stay healthy and strong.
- Choose shades of white that complement your skin tone.
- If you are using a gradient sponge, make sure to dab the sponge lightly onto the nail to avoid creating a harsh line between the colors.
- If you are using a stamping plate, make sure to press the stamp firmly onto the nail to avoid smudging the design.
- Apply a top coat to protect your nails and help the polish last longer.
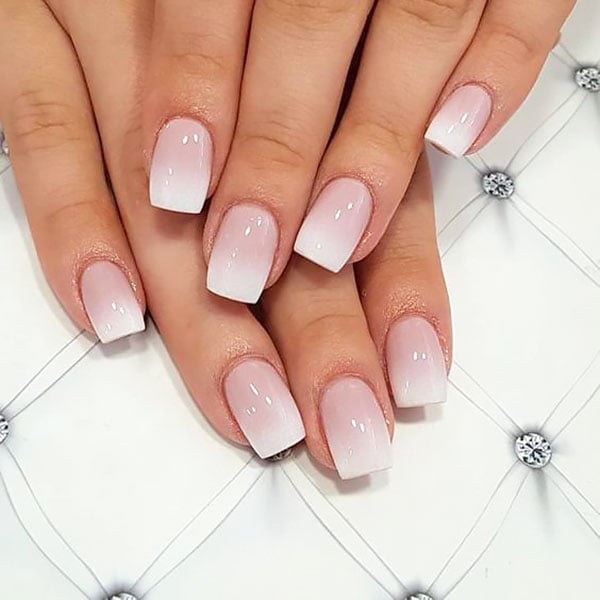
White Ombre Nail Designs
There are endless possibilities when it comes to white ombre nail designs. You can create simple and elegant looks, or you can add more complex designs and details.
Here are a few ideas for white ombre nail designs:
- French manicure: This classic look can be easily updated with a white ombre effect. Start by applying a white base coat to all of your nails. Then, use a lighter shade of white polish to create a french manicure.
- Negative space: This design is perfect for those who want to show off their natural nail color. Start by applying a white base coat to all of your nails. Then, use a striping tape or a toothpick to create a negative space design.
- Glitter: Add a touch of sparkle to your white ombre nails with a coat of glitter polish. You can use glitter polish all over your nails, or you can use it to create a design.
- Animal print: This trendy design is perfect for a night out on the town. Start by applying a white base coat to all of your nails. Then, use a stamping plate to
Thank you for exploring our website by White ombre nail designs. Your presence fuels our commitment to excellence. Come back for a more enriching experience!
